
Aadhaar Registration: Simple Steps to Get Yours Quickly
Aadhaar is one of the most important documents in India, serving as proof of identity for millions of citizens. Whether you’re opening a bank account, applying for government benefits, or even getting a mobile SIM, Aadhaar Registration is your gateway to a variety of essential services. In this complete guide, we’ll walk you through the easy steps to get your Aadhaar, share tips, and answer common questions so you can complete the process smoothly. Let’s get started!
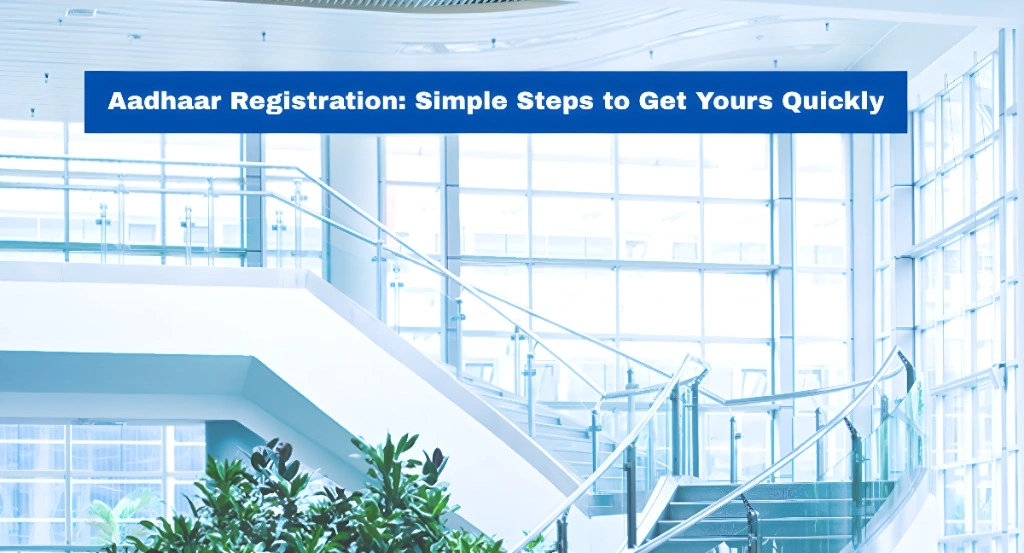
Registration Procedure
Fast and Easy
Fill Form
Make Payment
Application Processing
Receive Certificate
Step‑by‑Step Aadhaar Registration (Enrollment)
1. Find Your Nearest Enrollment Centre
You need to go to an Aadhaar Seva Kendra (ASK) or an authorized enrolment centre.
Use the UIDAI website to locate one near you.
Tip: Book an appointment online first it reduces waiting time.
2. Gather Required Documents
Bring these original documents (don’t forget photocopies):
You must carry original docs photocopies are usually for submission only.
Tip: Keep photocopies ready to save time.
3. Fill the Enrolment Form
At the centre:
4. Biometric Capture
They will take:
This step links your identity to your Aadhaar.
Tip: Make sure your fingers are clean for clear prints.
5. Get the Acknowledgement Slip
Once done, you will receive a slip with a 14‑digit Enrolment ID this is super important.
Use it to track your Aadhaar status online.
After Registration — What Happens Next?
Bonus Tips to Make It Easy
Double‑check your name & address
Any spelling error can delay your Aadhaar delivery.
Use the official UIDAI website only
Avoid fake websites always check the URL starts with uidai.gov.in.
Keep your phone handy
The OTP verification goes to your mobile number.
Kids can also get Aadhaar
If your child is enrolled, make sure to update biometrics when they turn 5 and 15.
Common Mistakes to Avoid
- Going without original documents
- Missing appointment time
- Entering wrong phone number
- Forgetting to save the Enrolment ID
Frequently Asked Questions
Final Thoughts
Aadhaar registration doesn’t have to be confusing.
Follow the steps above, prepare your docs, and go with confidence — it’s quick and free!